


Customizing 101: How to base paint your custom figure.

If you are new to this column, it is truly meant to be read from the beginning to the most recent.
Please start with the first installment, "What are Designer Toys?"
So last week we learned how and why you prime your vinyl before painting. This week we're going do place a base coat of paint on your custom. The base coat is the main color you want each element (since I'm using a Dunny, these are head, body, left arm and right arm for me) to have.
You can apply these base coats in a number of ways, from Spray Paint to Airbrushing, Paint Pens to Brushed Paint… the only thing you should always make sure of is that your paint is not an oil based one with an iodine number less than 130, as these are semi- and non-drying oil paints. If you do use an oil paint (with an iodine number greater than 130) then be prepared to have exceedingly long drying times.
It is probably easiest to stick with water or acrylic paints. I personally like Montanta's "White Synthetic" Spray Paint line, which is a glossy acrylic. I think it looks sharp and clean while also being easy to apply.
Goals: Apply base coat of paint to each element of the vinyl figure.
Estimated time to achieve all goals: 1+ hours.
Items needed for goals: Vinyl figure, box to spray into, spray stand of some sort, paints of your choice.
Please note: If using spray paint or airbrushing, always wear a respirator mask and do so in a well ventilated area.
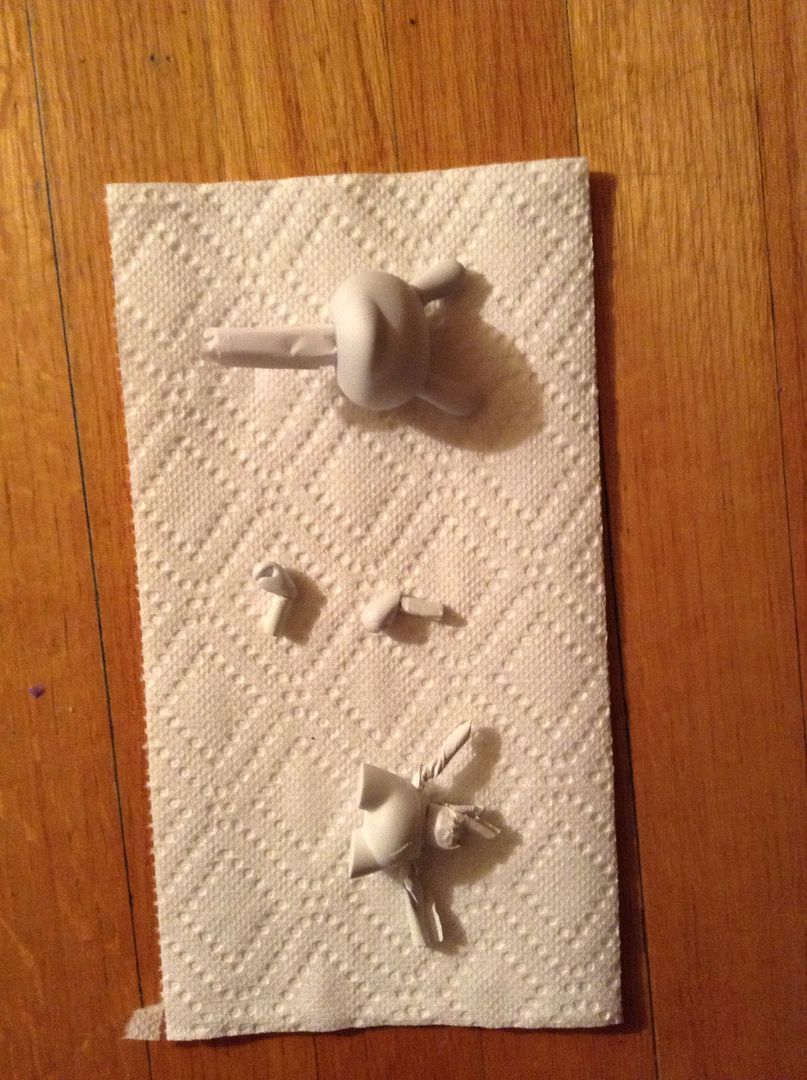 |
Starting off with the nicely primed pieces, each still with their joint nubs protected, which is where we ended last time. Since I already gave my figure a purple heart (masked beneath the primer), I've decided to make this a military themed piece. |
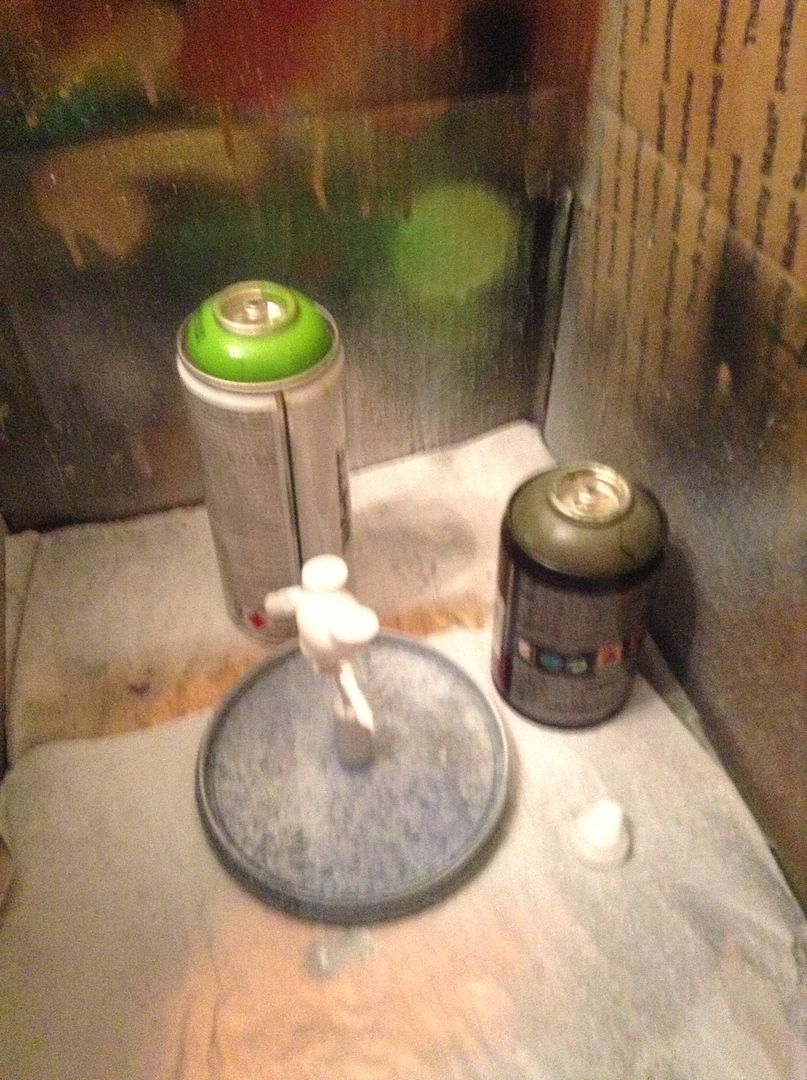 |
We return to my homemade spray box and spray stand (from the last installment). And you can see I have two sprays with me: a light green and a darker, military green. Now you might recall that I mentioned last time how I normally prefer Krylon Black Plastic Primer or Montana Gold Clear Plastic Primer, right? The reason is that it gives you a color base already… so when you paint on the base it can allow tiny dots of the undercolor to come through and give some depth. Since we used white primer, I'm going to cover the elements in one color completely (my new undercolor) and then lightly put my base color over it. |
 |
The light green undercolor layer applied. I typically like undercolors that are darker, to imply shadow where they hint through, but since my true base color (the military green) is so dark I opted for a lighter undercolor. Since I'm using a spray paint, I gently move the spray back and forth while applying, trying to get the piece covered mainly with non-direct bursts; I've found this to be the best way to avoid excess areas that drip or bubble. |
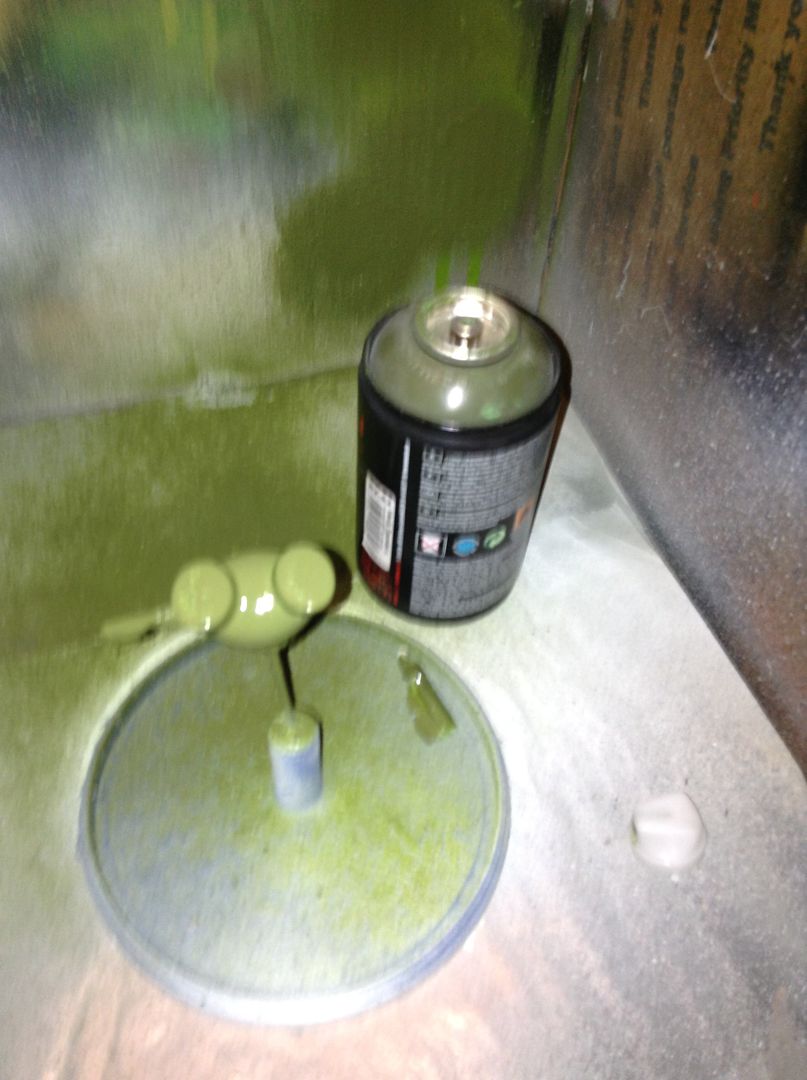 |
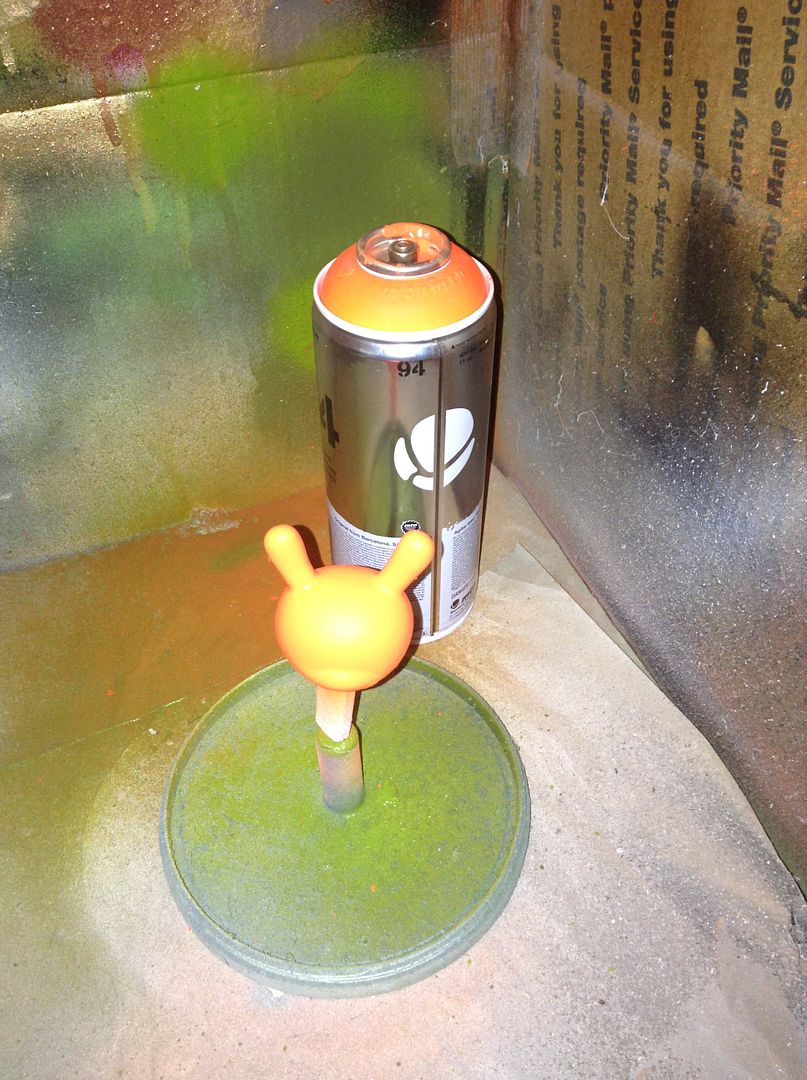
Now onto the true base color: military green. In applying this layer, I keep the non-direct bursts even more distant, resulting in more of a misting to color the piece. You can't really see it in the photo (or even at a distance in real life), but this gives you tiny little specs of the undercolor showing through which break up the solid swath of the base. Behind the scenes both arms had the same colors done on them. |
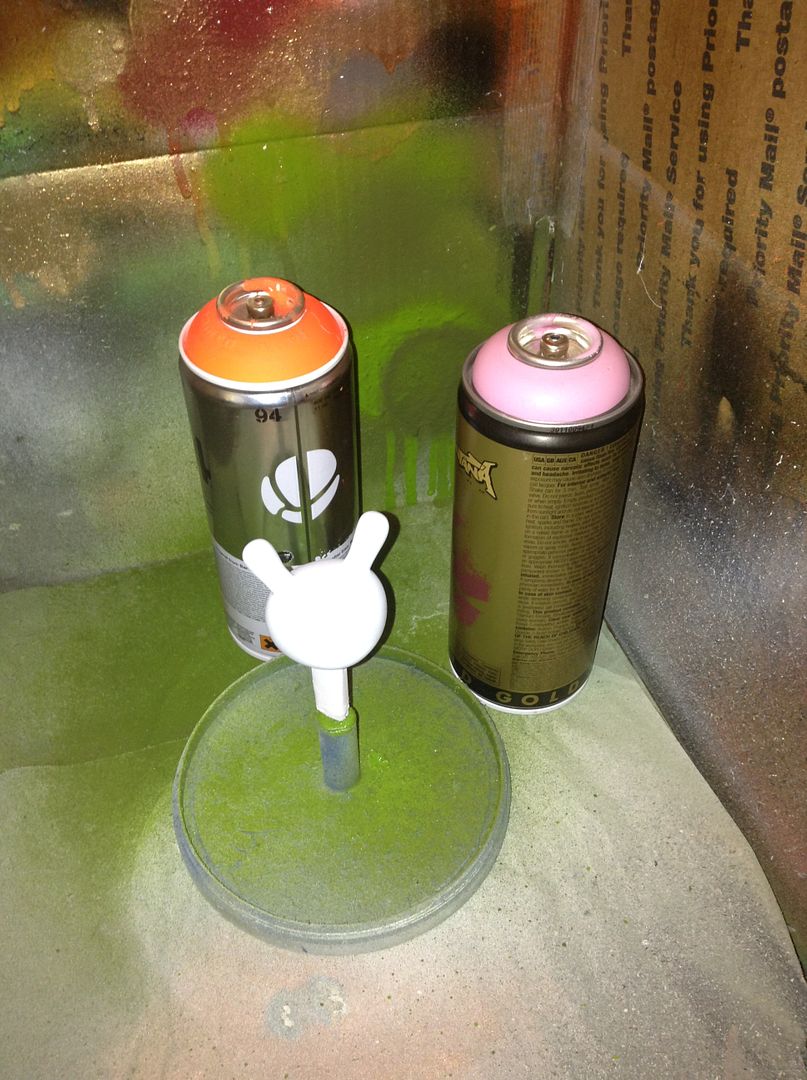 |
Moving onto the head, we have a fluorescent orange and a pink. The body and arms are military green, implying his clothing, so I'm doing a pink 'flesh tone' on his head. The orange will be my slightly darker undercolor while the pink will be the actual base. |
 |
Just as I did it previously, fluorescent orange has been applied thoroughly with non-direct sprays. |
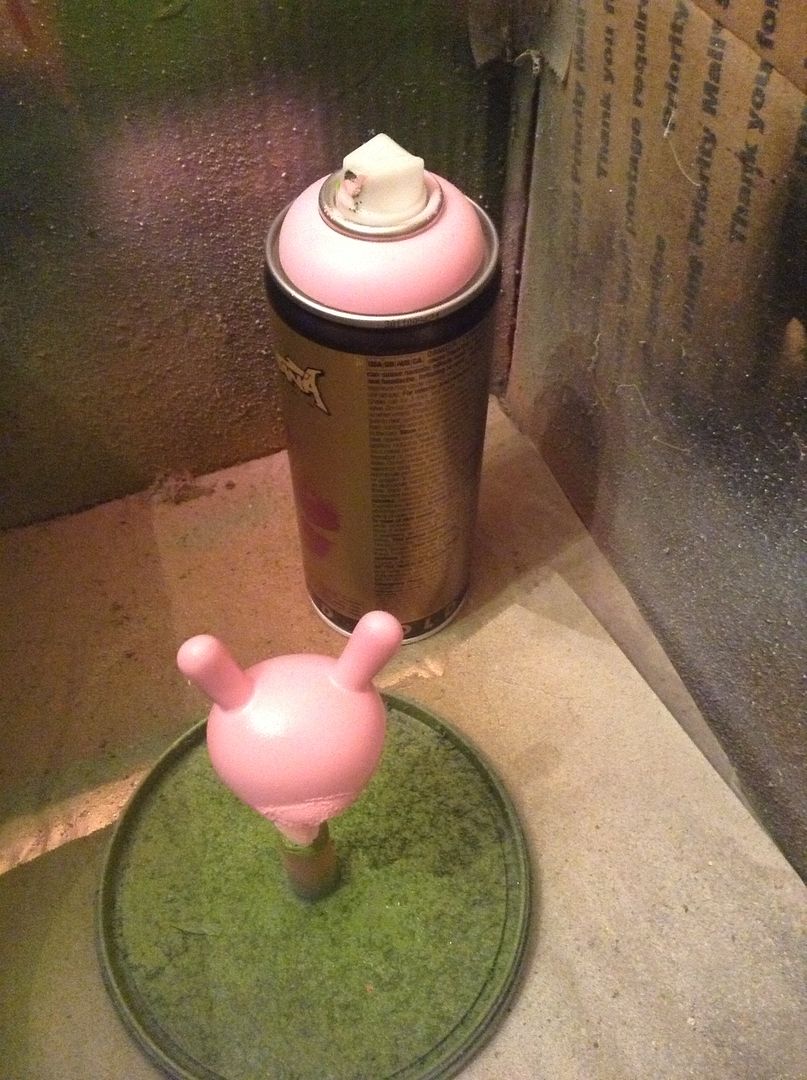 |
And then the pink is done with as close to a misting effect as I can get. |
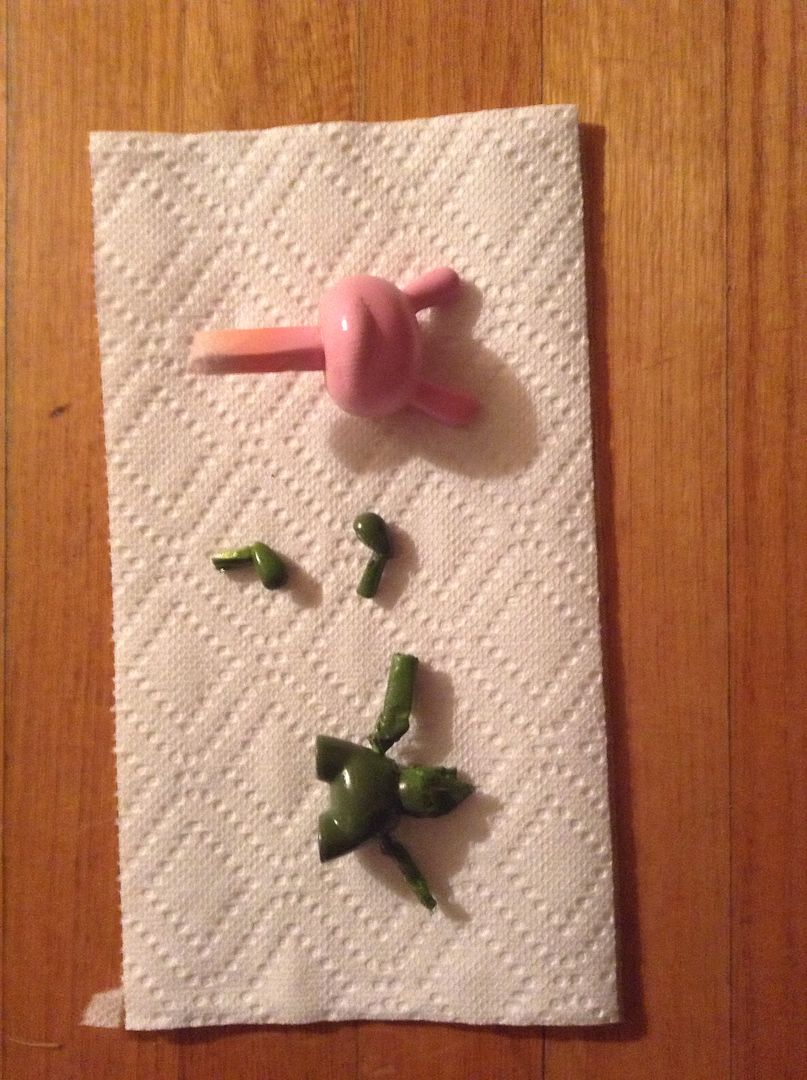 |
And this is what you should have when you're done, which is a solid base to pick up from with some detail painting work. |
Now I did do one 'tricky' thing in here, but my photos of it were really bad so I skipped showing them: I decided that my soldier would have burns or some other sort of wound on his face. To build the very slight feeling of scar tissue, I did a no-no…
If you read the instructions on how to use spray paint, it always says to spray for a few moments at some scrap before beginning; the reason for this being that a spray can ejects no paint but strictly a chemical for about a second or two. I intentionally sprayed those first few seconds around the Dunny's head and then immediately sprayed over them with paint, which causes the paint to dry over tiny pockets of the chemical. I wish the photos had come out better, but the end result is pretty much slightly elevated dried paint in those patches. Patches that I'll be playing with a bit next week…
Next Week: How to detail paint your custom figure.


No comments
Post a Comment