


Customizing 101: How to prime your vinyl figure.

If you are new to this column, it is truly meant to be read from the beginning to the most recent.
Please start with the first installment, "What are Designer Toys?"
Last week we learned how to prepare your vinyl figure — in my case, a Dunny — for being customized. This week we'll be priming the figure, which is possibly the most important step in the customizing process. Why is priming so important?
Paints don't bond with vinyl, they adhere to the surface; primer allows for greater adhesion and, in the end, more professional pieces. Improperly primed pieces (or unprimed ones) tend to lead to pieces where some or all of the figure remains tacky feeling, as the paint can't dry correctly.
Some people like to sculpt on their figure (assuming they will be sculpting) before priming and there is nothing really wrong with this, but I like to prime first which gives the sculpting material a better surface to adhere to itself.
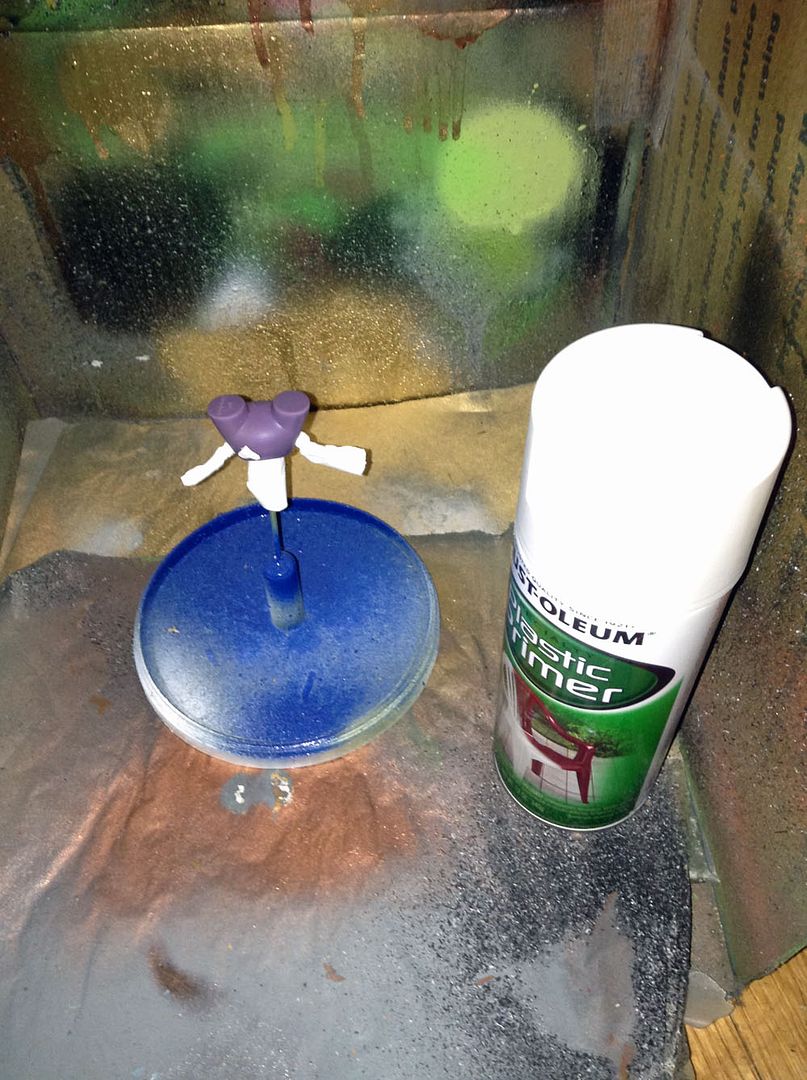
Normally I use either Krylon Black Plastic Primer or Montana Gold Clear Plastic Primer, but I'm going to use plain ol' white Rust-oleum Plastic Primer for this piece. You can find it in any hardware store, so I figured it was what most people would be seeking out first.
Goals: Mask the joints and prime the figure for painting.
Estimated time to achieve all goals: 1 to 8 hours.
Items needed for goals: Vinyl figure, masking tape, x-acto knife (optional), self-healing cutting mat (optional), sheet of paper, box to spray into, spray stand of some sort, spray primer.
Please note: always wear a respirator mask when using spray paints, including spray primer, and do so in a well ventilated area.
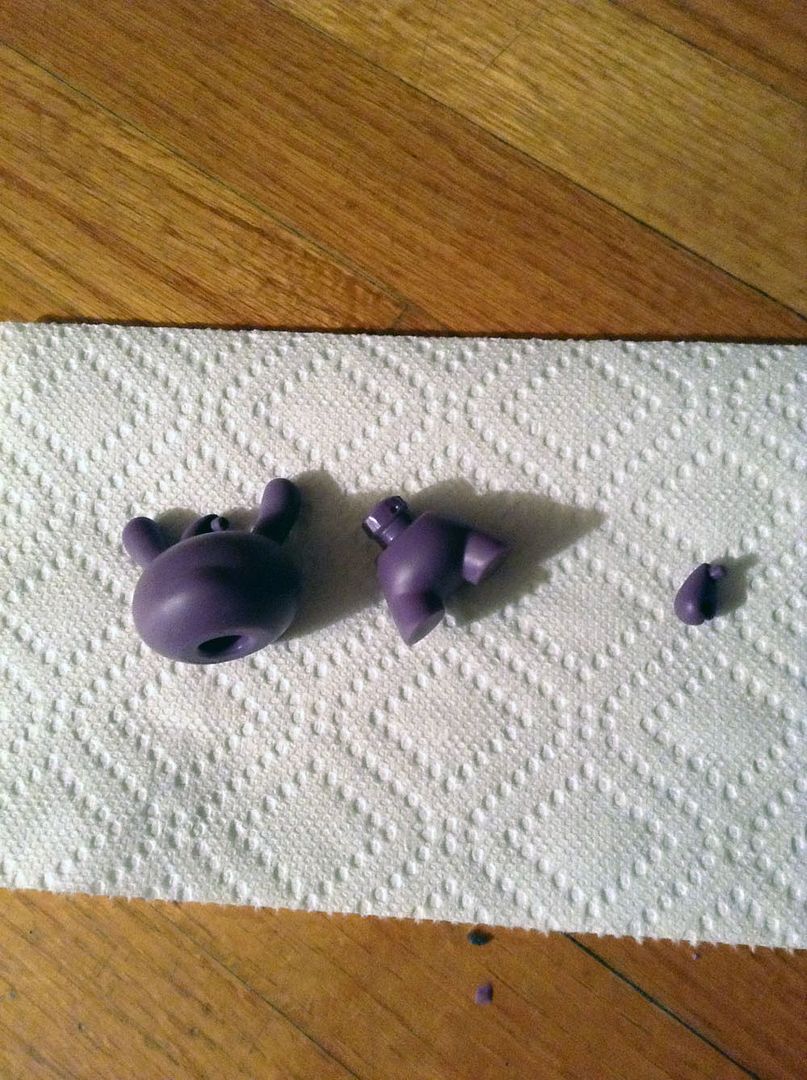 |
We're starting off exactly where we left off in the previous column: the vinyl figure has been stripped of paint and given a bath. Please remember to wear your latex gloves when touching the vinyl or else you'll transfer oils back onto the surface. |
 |
Before we coat the figure with primer, we decide that we want a small element of the piece to show the original vinyl color (purple), so we create a mask to prevent primer and paints from adhering to that area. |
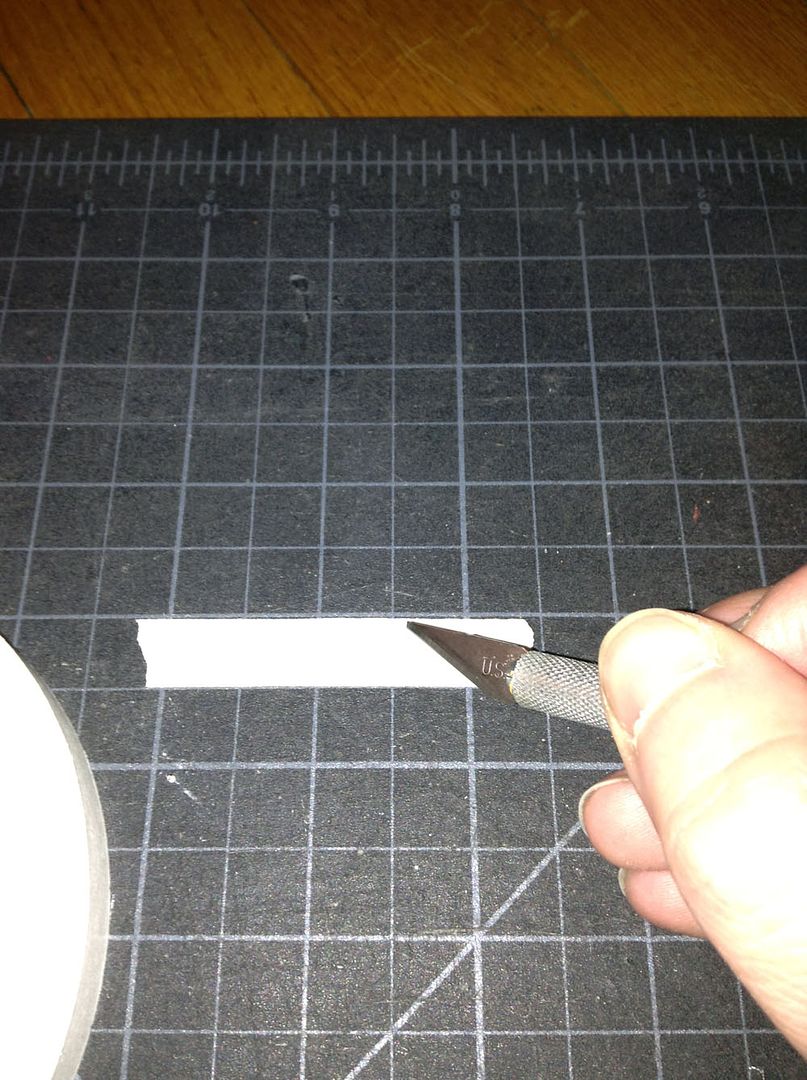 |
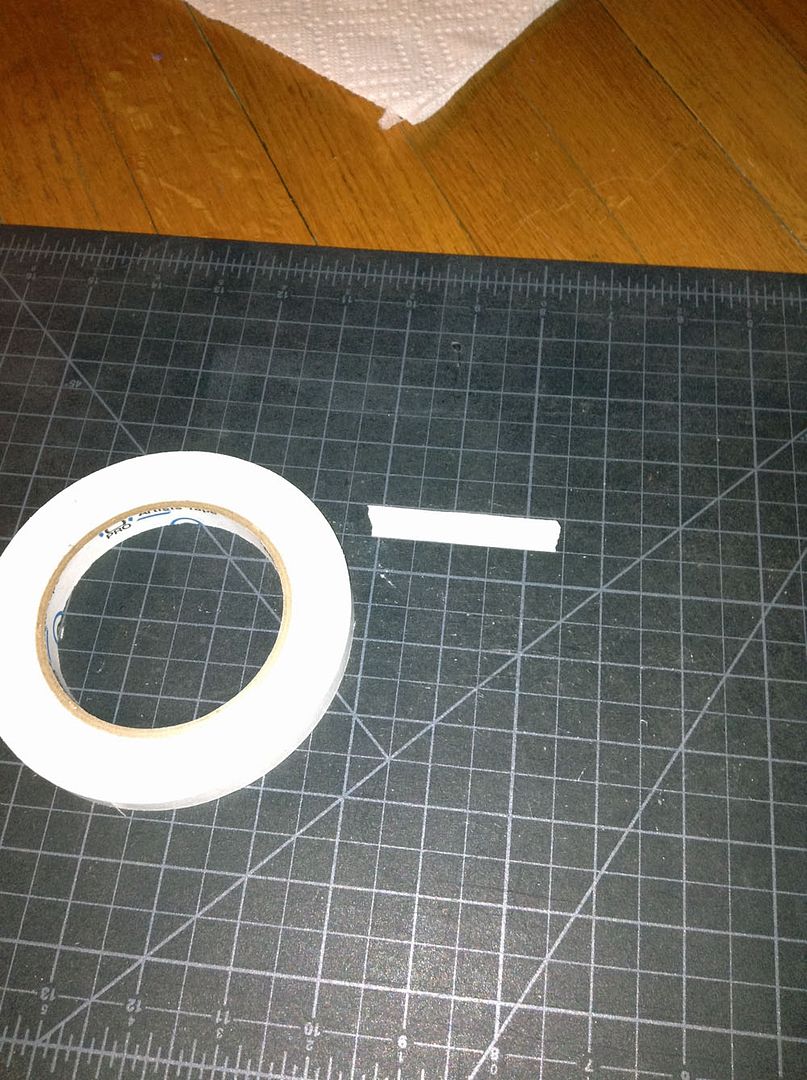
We'll be cutting out the shape of our mask in masking tape. I'm using a self-healing cutting mat, which are fairly inexpensive and completely useful if you do a good amount of x-acto work. Then using my blade I'll outline shape I want to mask. |
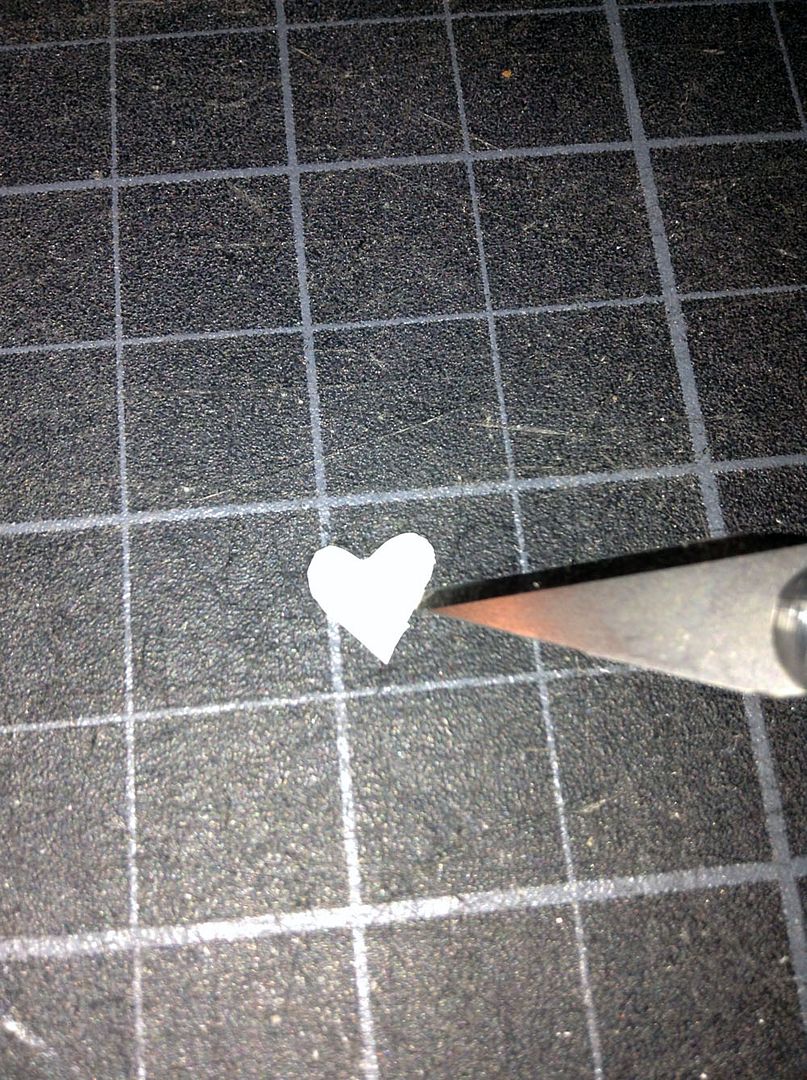 |
Once the excess masking tape has been carefully removed, you gently peel up our mask layer. As you can see here, I opted to make a heart shaped mask, which means the purple vinyl over which I place this will stay unprimed and unpainted. |
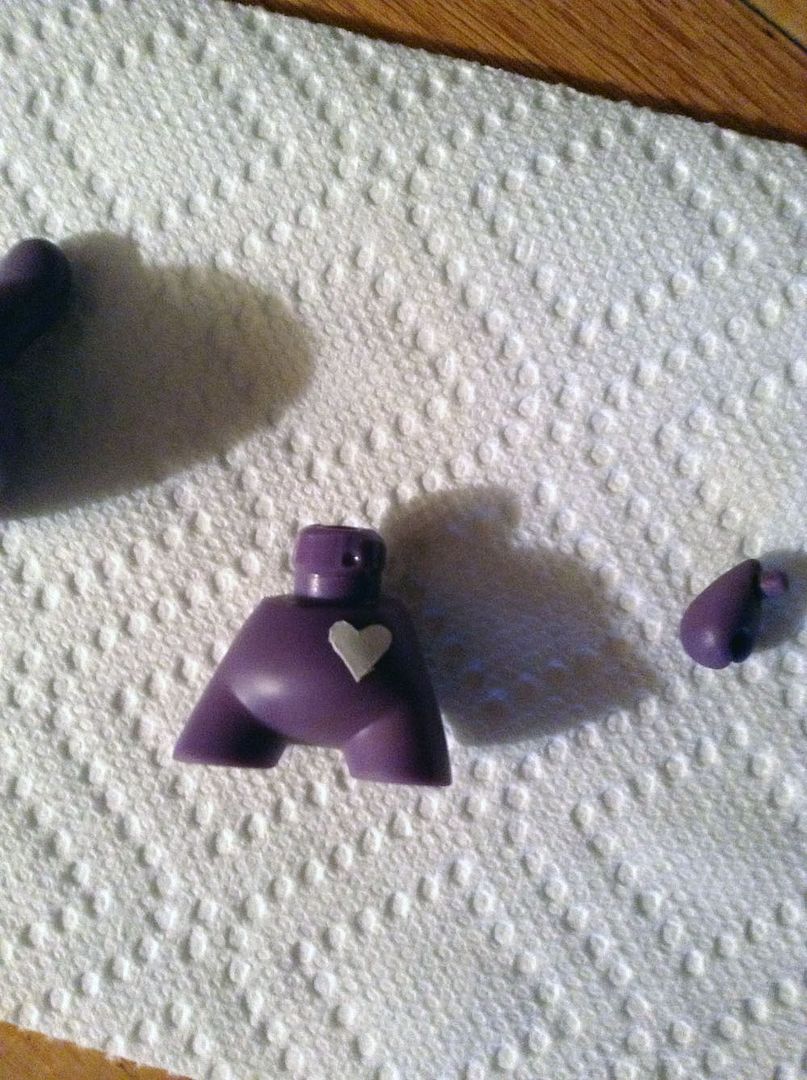 |
And there's the heart shaped mask on the vinyl. This poor little guy has been such a trooper that I figured he deserved a purple heart, which is exactly what will show after we're done and the mask is removed. |
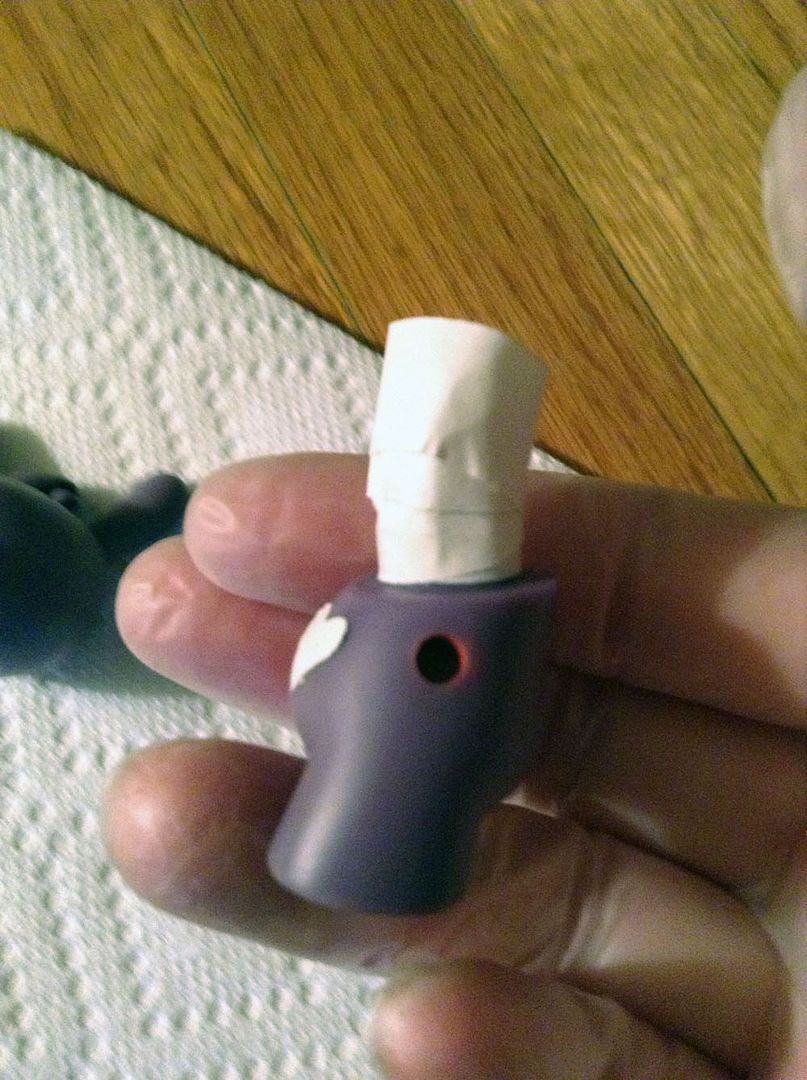 |
In preparation for priming the piece, all the nubs that joint the figure together need to be covered. They should just fit together at this point, so the light layer of primer and paint might actually keep them from fitting. Wrapping masking tape around all the nubs is like a sloppy mask, if you would. |
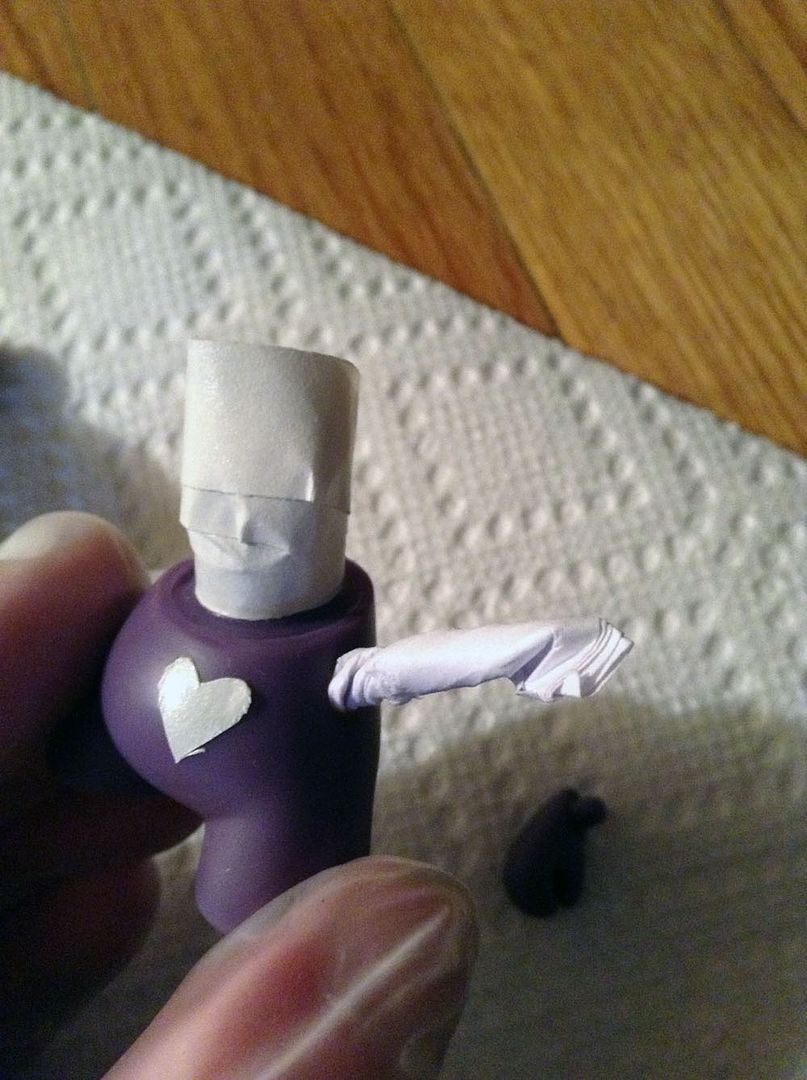 |
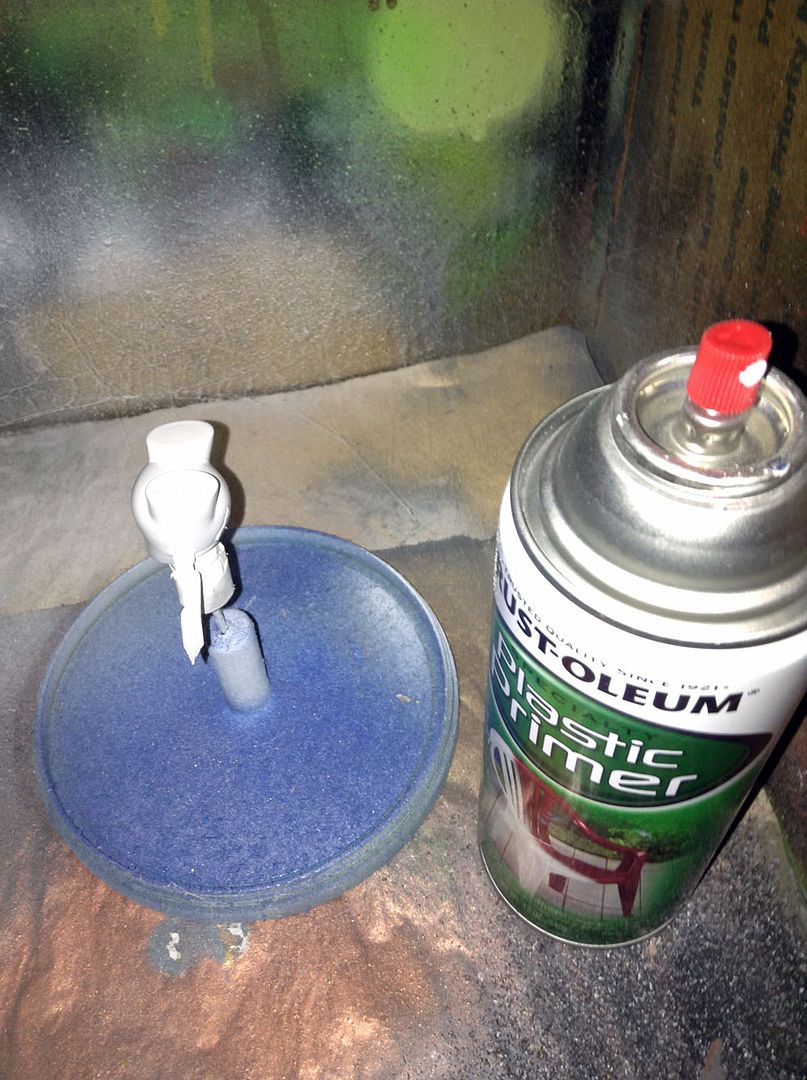
The same goes for the holes that the nubs fit into, they need to be protected from getting primer and paint in them. Take a small tear of paper and roll it up tightly, that should fit snuggly in these holes while protecting them. |
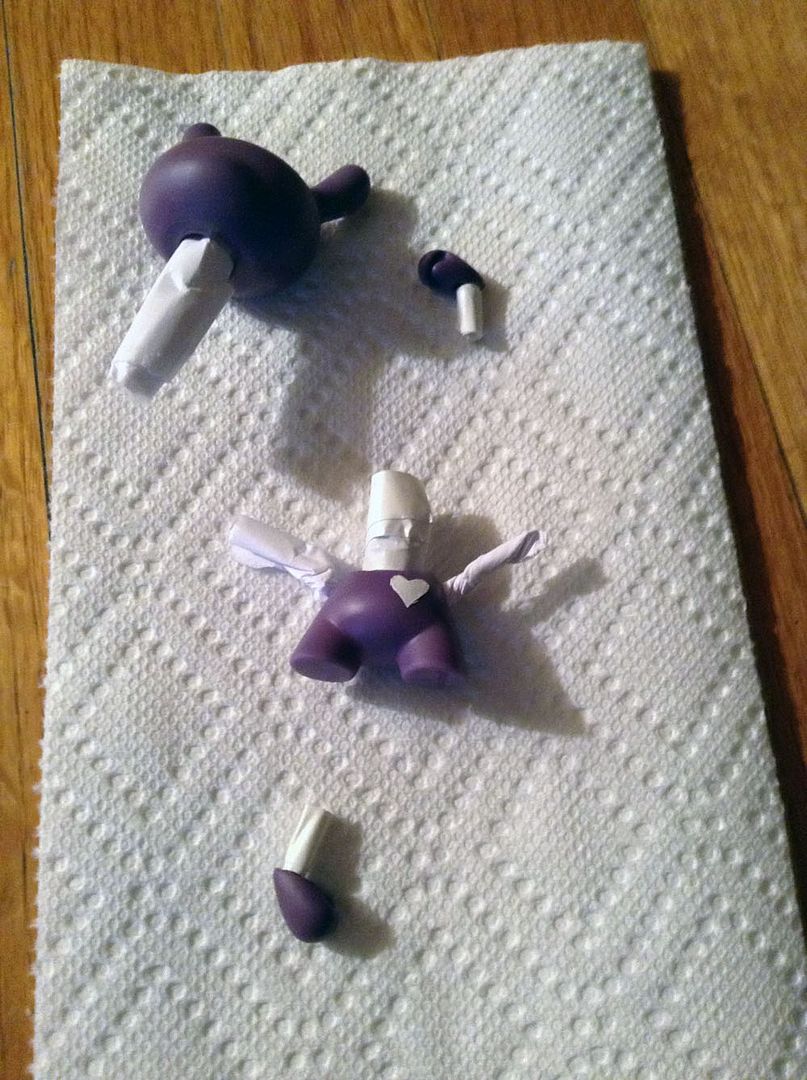 |
Once you've completed protecting all the joints that fit the figure together, you should have something that looks like this. And now you're ready to prime the piece. |
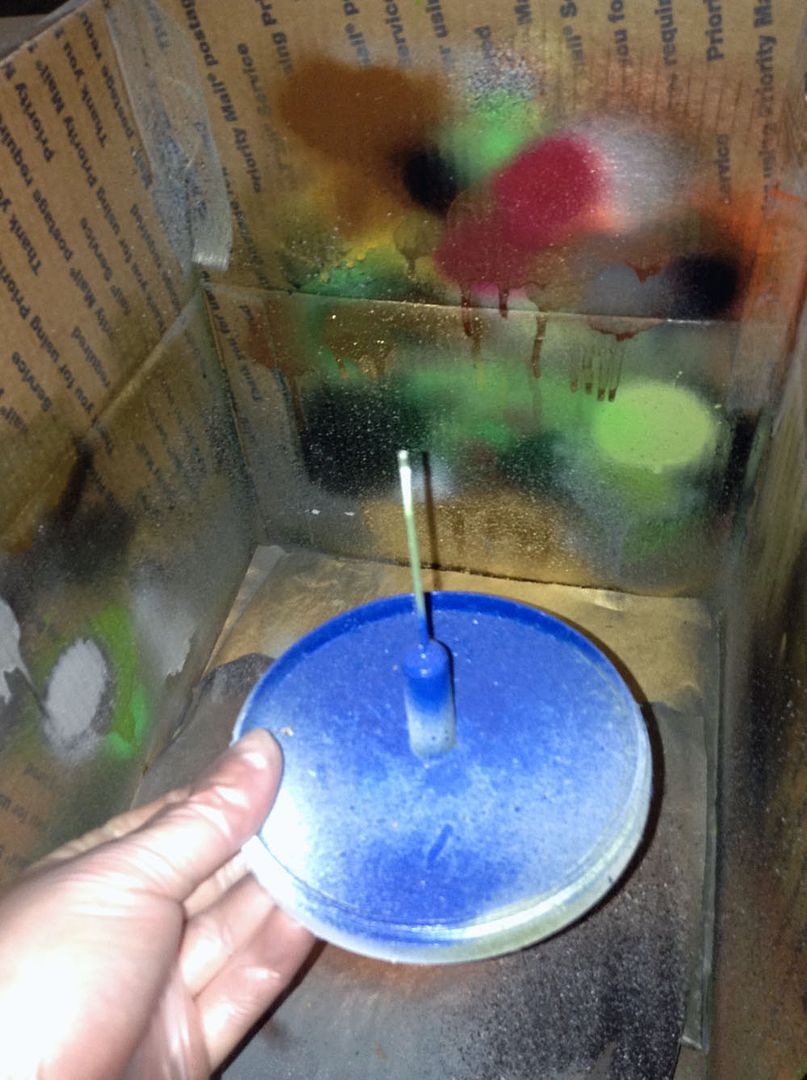 |
I spray into an old mailing box that I cut the top and one side off of as well as built up the remaining sides' height. But, more importantly, that this I'm holding is my spray stand: whatever part I'm going to spray rests atop that thing. I made it using the spindle from inside one of those 100 count CD-R sets, which I think stuck a piece of metal wire through (and glued into place). |
 |
Here's my vinyl figure's body resting atop my spray stand. What makes it important is that it not only gives me a way to spray the primer on easily but a place where the vinyl can dry without touching anything. |
 |
Gently move the spray back and forth while applying, trying to get the piece covered mainly with non-direct bursts; I've found this to be the best way to avoid excess areas that drip or bubble. Once you've coating the entire piece, let it dry for roughly an hour before allowing it any contact with anything. |
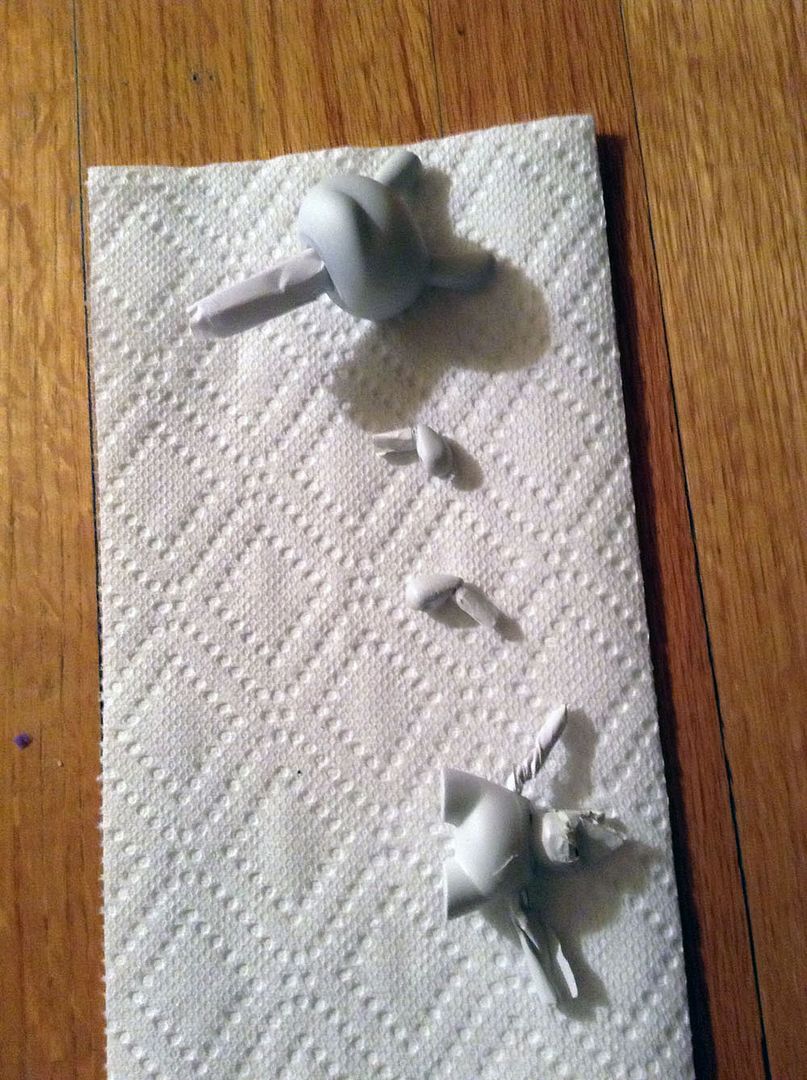 |
Once your piece is dry, pick it up and examine in closely: if there are any areas where primer pooled together or dried in a non-flat manner, gently sand them down and respray. If the problem persists, strip the figure back down to the vinyl (as we learned in the previous column) and start afresh. Otherwise, once done, you should have something that looks like this. |
After all the priming is completed, I like to let the pieces sit for 24 hours. If after that period of time any of the pieces feel less than completely dry, I'll strip off the primer, bath the vinyl and start afresh on them. A poorly primed piece has no chance of lasting in the long run.
Next Week: How to paint your custom figure.


No comments
Post a Comment